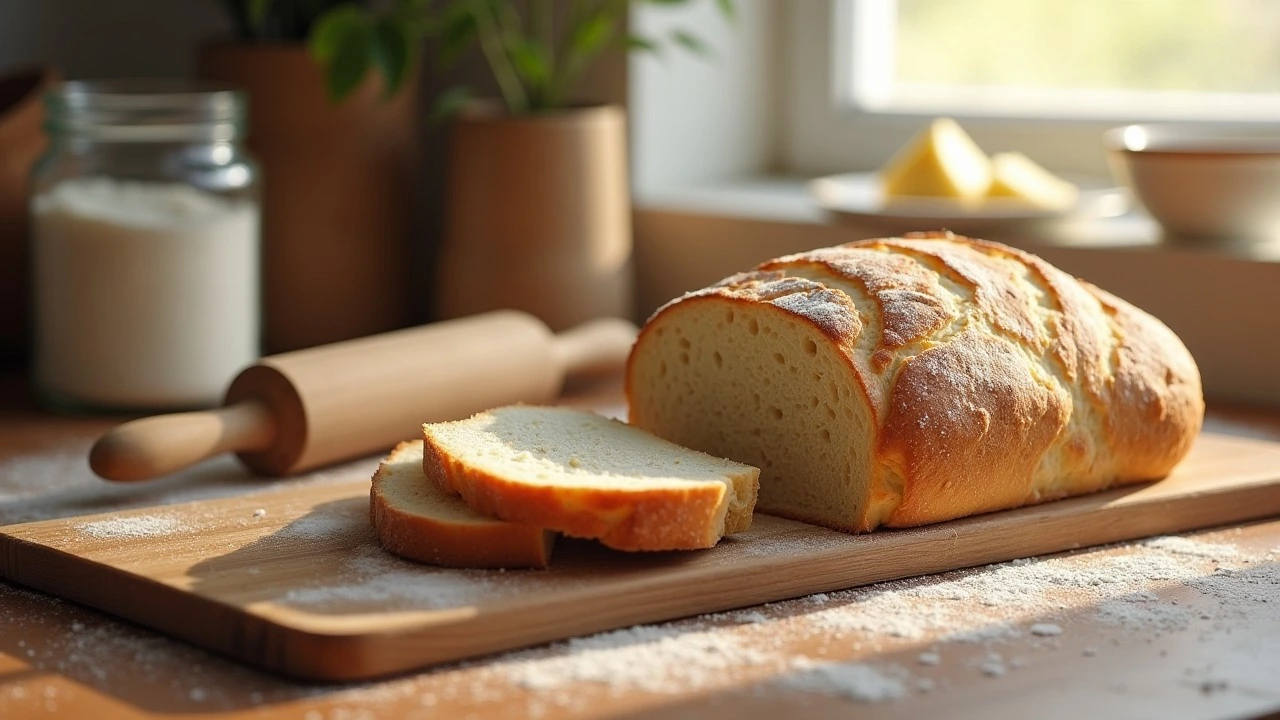
Let’s be real—there’s something magical about homemade bread. The smell alone is enough to make your neighbors jealous. And honestly, making bread at home isn’t as intimidating as it seems. You don’t need fancy tools or special skills. Just a little patience, some basic ingredients, and boom—you’ve got fresh, warm bread that tastes a million times better than the stuff at the grocery store.
Trust me, once you’ve had a slice of bread straight from your oven, slathered with butter that melts instantly, you’ll wonder why you waited so long to try it.
What You Need to Make Bread at Home
Okay, let’s talk basics. You don’t need a bunch of gadgets to make homemade bread. Here’s what’s non-negotiable:
- Flour: Bread flour is great because it gives your loaf that nice chewy texture, but all-purpose works in a pinch.
- Yeast: Go for active dry or instant yeast—whatever you’ve got on hand.
- Water: Warm (not hot!) water helps the yeast do its thing.
- Salt: Don’t skip this; it’s what makes bread taste, well, like bread.
- A big bowl and your hands: No stand mixer? No problem. Mixing by hand is totally fine.
You can jazz things up with extras like honey, olive oil, or herbs, but those are optional.
Step-by-Step: How to Make Classic White Bread
This recipe is perfect for beginners because it’s straightforward and foolproof. Seriously, if you can stir and knead, you’ve got this.
Ingredients:
- 3 cups bread flour (or all-purpose)
- 1 cup warm water
- 1 tablespoon sugar
- 2 teaspoons salt
- 2 ¼ teaspoons active dry yeast (that’s one packet)
Instructions:
- Mix It Up
Combine the water, sugar, and yeast in a bowl. Let it sit for 5 minutes—this is your yeast “proofing.” If it gets all bubbly, you’re golden. (If not, toss it and start over—sometimes yeast just doesn’t wanna cooperate.) - Add the Dry Stuff
Throw in your flour and salt. Stir it together until it starts to look like a shaggy mess. That’s good! - Knead Like You Mean It
Turn the dough out onto a floured surface and knead for about 8–10 minutes. Yes, it’s a bit of a workout, but think of it as stress relief. - Let It Chill (Well, Rise)
Put the dough in a greased bowl, cover it with a towel, and let it rise in a warm spot. This takes about an hour. You’ll know it’s ready when it’s doubled in size. - Shape and Second Rise
Punch down the dough (this part is oddly satisfying), shape it into a loaf, and place it in a greased loaf pan. Cover it again and let it rise for another 30 minutes. - Bake It
Preheat your oven to 375°F and bake for 25–30 minutes. When the top is golden brown, and it sounds hollow when you tap it, you’re good to go.
Troubleshooting: Common Bread Woes
No one gets it perfect every time, so don’t sweat it if your first loaf isn’t bakery-worthy. Here are some fixes for common issues:
- Flat Bread?
Your yeast might’ve been too old, or the water was too hot and killed it. Use warm—not hot—water and check that yeast expiration date. - Dense Loaf?
You probably didn’t knead it enough. Gluten is what makes bread light and fluffy, so give that dough some love next time. - Crust Too Hard?
Cover the bread with foil for the last 10 minutes of baking, or brush it with butter when it comes out of the oven.
Fun Variations to Try
Once you nail the basic recipe, get creative! Here are a few easy ways to mix things up:
- Garlic Herb Bread: Toss in some minced garlic and dried rosemary.
- Honey Wheat Bread: Swap out half the flour for whole wheat and add a tablespoon of honey.
- Cinnamon Swirl Bread: Roll out the dough, sprinkle it with cinnamon sugar, and roll it up before baking.
Quick Tips to Make It Easier
- Use Instant Yeast: It cuts down on proofing time.
- Proof in the Oven: If your kitchen is chilly, stick the dough in the oven with the light on—it’s the perfect warm spot.
- Make Extra and Freeze: Homemade bread freezes like a dream. Just slice it first for easy thawing.
FAQs About Homemade Bread
1. Is making bread at home cheaper?
Absolutely. Once you have the basics (flour, yeast, etc.), you’ll save money compared to buying those artisan loaves.
2. Can I use gluten-free flour?
You can, but you’ll need a recipe specifically for gluten-free bread—regular dough needs gluten for structure.
3. How long does homemade bread last?
Without preservatives, it’s good for 2–3 days at room temp. Freeze it if you need it to last longer.
4. Why does my bread taste bland?
You might’ve skimped on the salt. It’s small but mighty when it comes to flavor.
5. Can I make bread without kneading?
Yes! No-knead recipes exist, and they’re perfect for lazy days.
6. What’s the best way to store bread?
Wrap it in a clean kitchen towel or keep it in a bread box. Avoid plastic bags—they trap moisture and make the crust soggy.
Why Homemade Bread Is Worth It
At the end of the day, making bread at home isn’t just about the bread itself (though it’s ridiculously good). It’s about the experience—getting your hands messy, watching dough rise like magic, and sharing a slice with people you love. Plus, it’s way more fun than staring at your phone while waiting for DoorDash. So, grab some flour, fire up your oven, and get baking—you won’t regret it.

